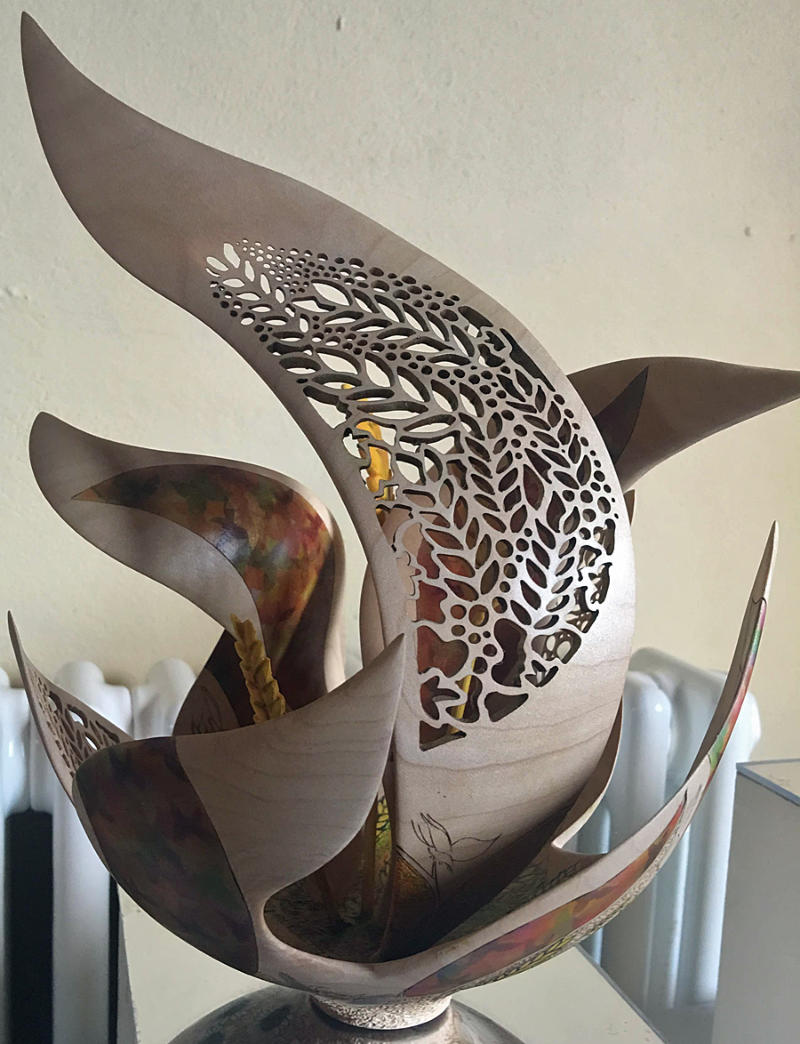
Pierced and decorated ‘discus’
with Mick Hanbury
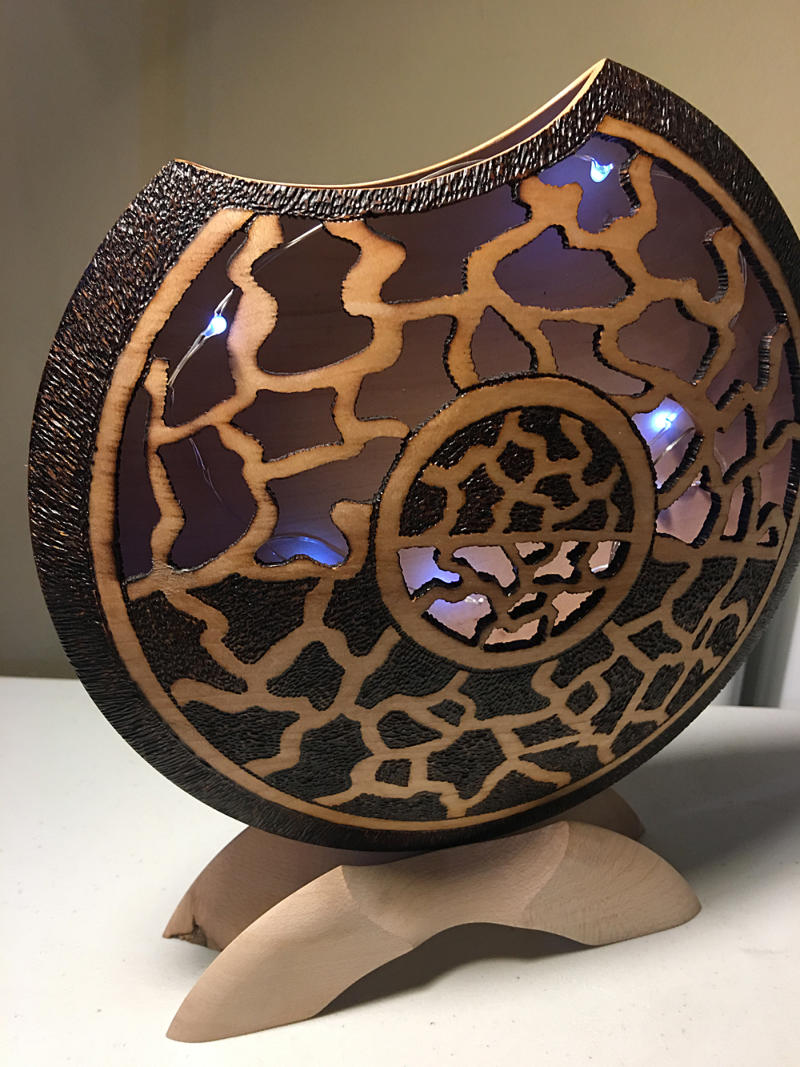
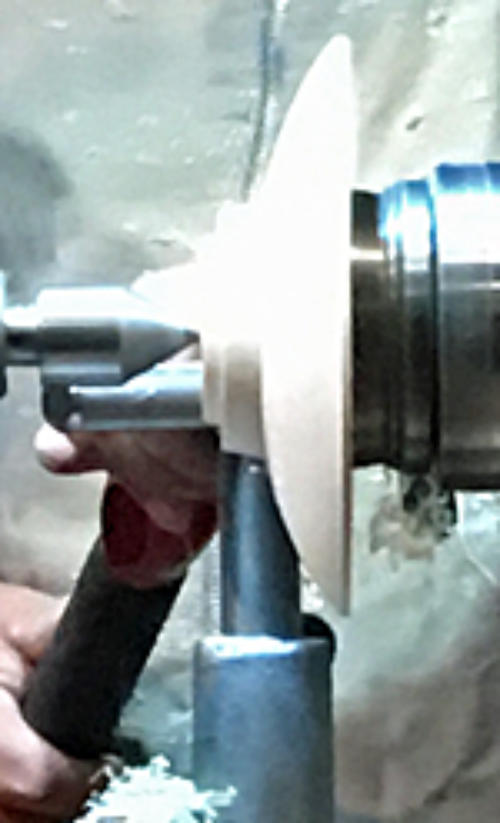
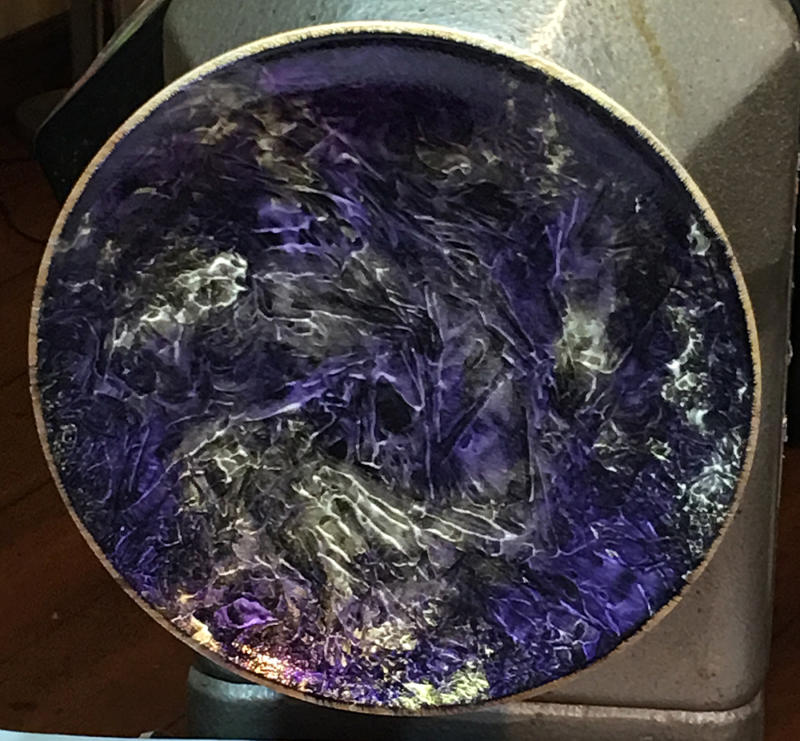
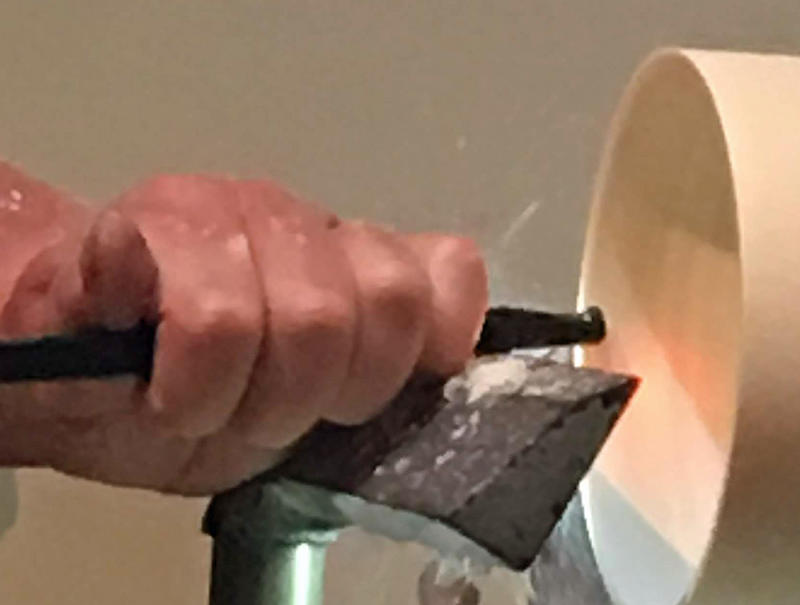
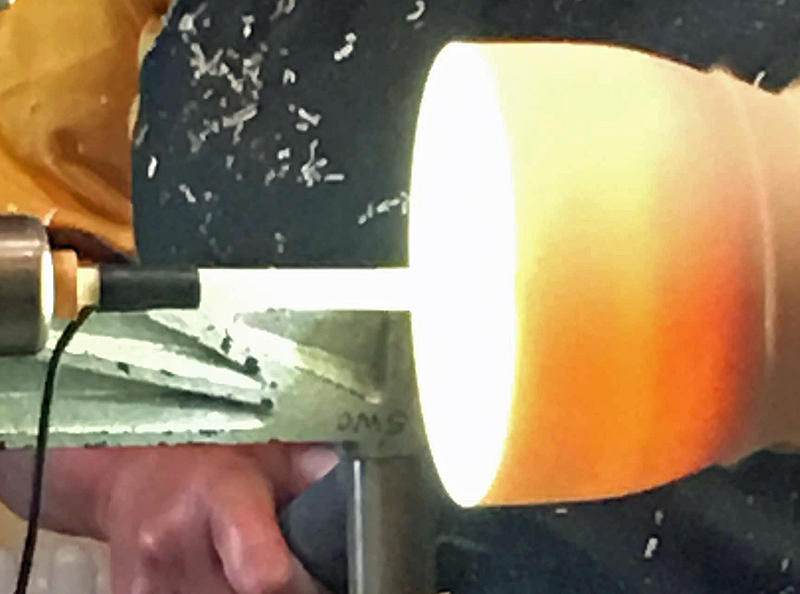
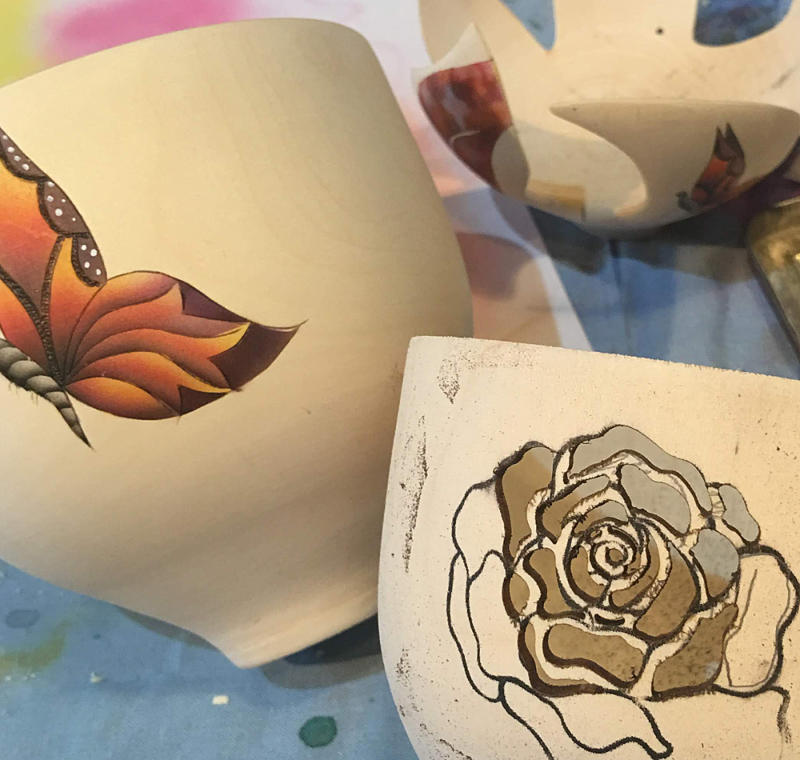
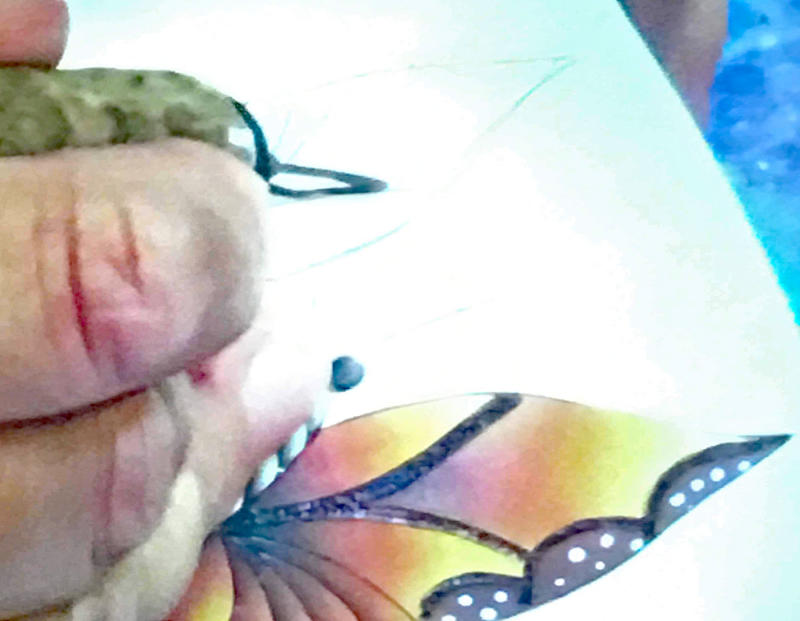
Mick returned with a new and interesting project, which combines two identical thin turned bowls which are bonded together to make a discus shape for decoration. Mick turns to about 3-3.5mm thick making a shallow dish with a smooth curve and then repeats for a 2nd identical bowl. He sanded with a mixture of oil and beeswax that allows the fine particles to drop rather than disperse into the air. He then denips wit paper to remove the wax before colouring. For the decoration of the inside of one bowl he started with black gesso as the base then used Jo Sonja’s colours randomly painted on, for this demo he used purple and then yellow to give a gold shimmer. The colours were mixed with a flow medium. Between the gesso and after the main colour he dried it off with a hair dryer and then used car lacquer for a gloss finish. For more complex designs he uses a retarder to slow down the drying time.
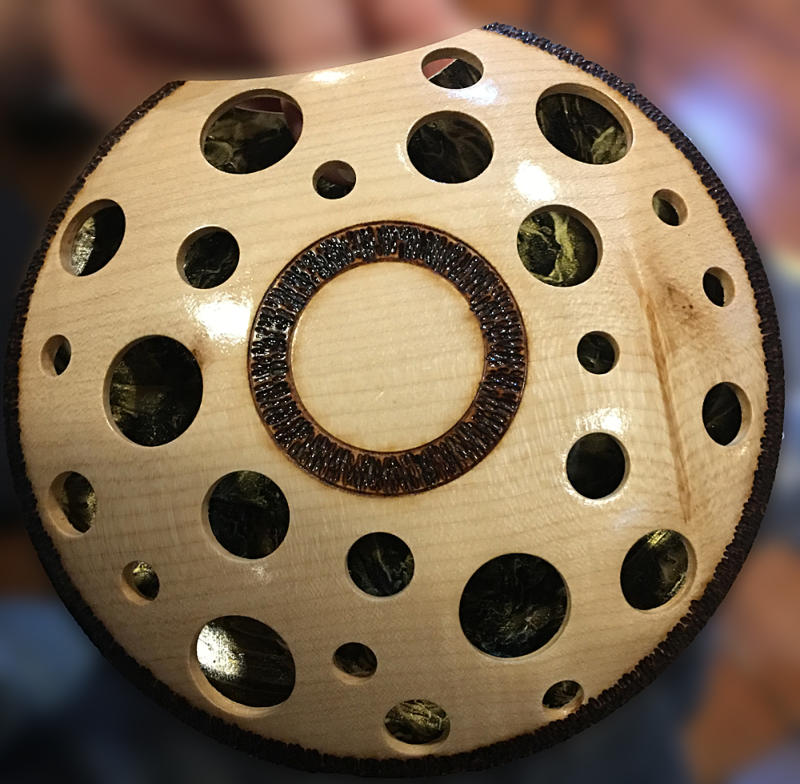
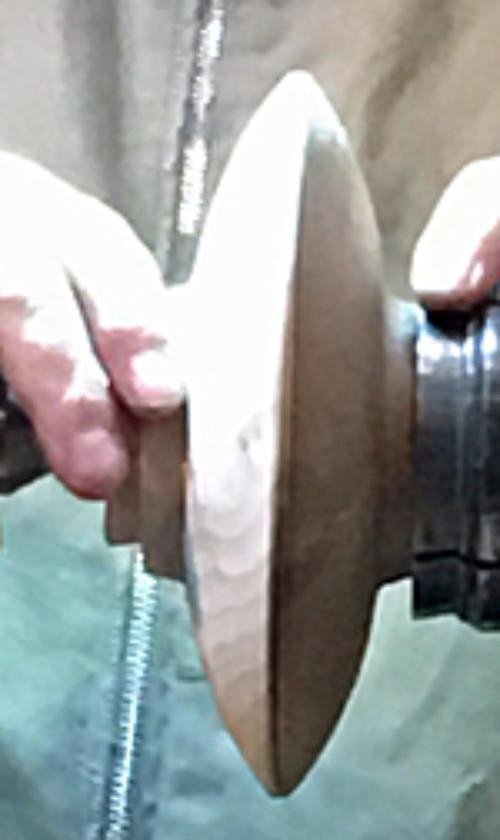
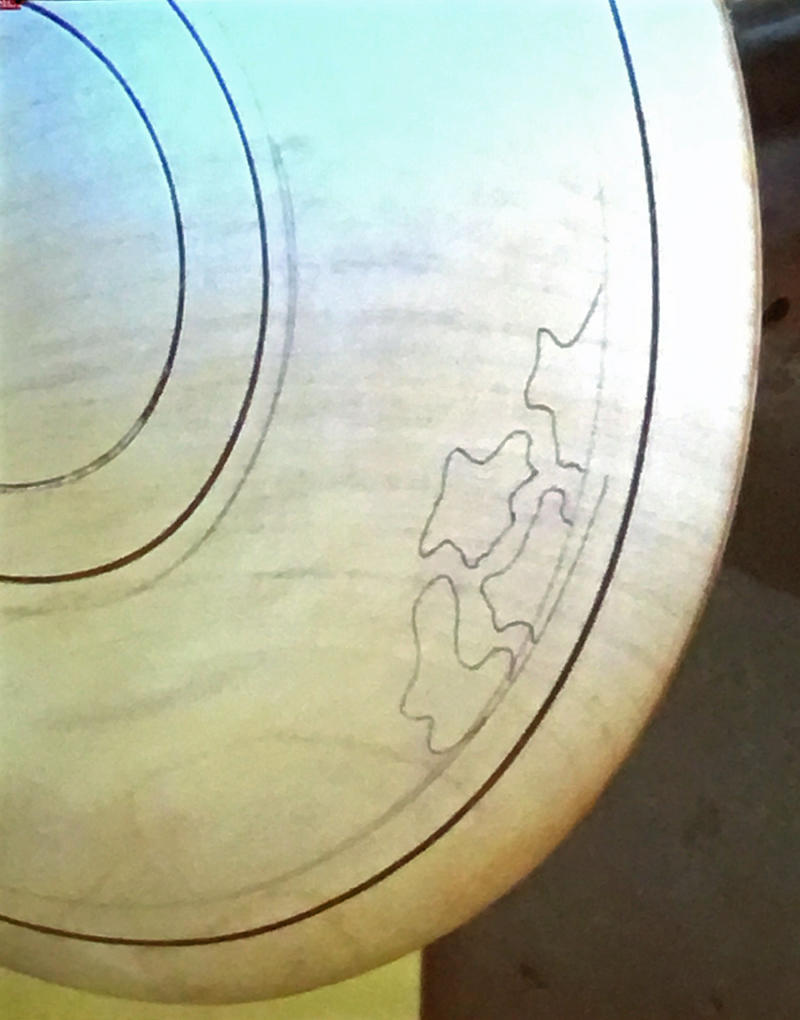
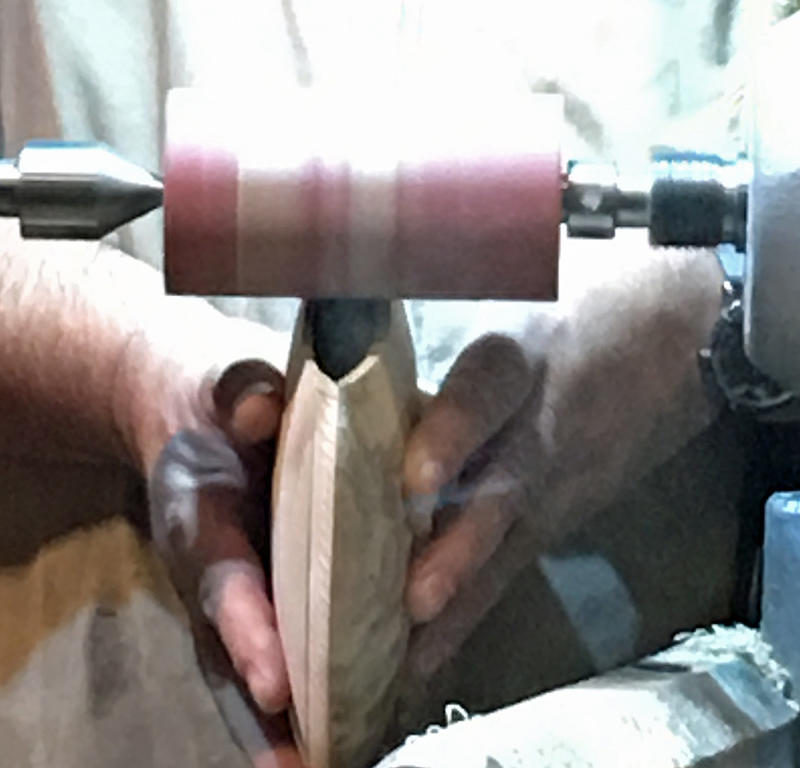
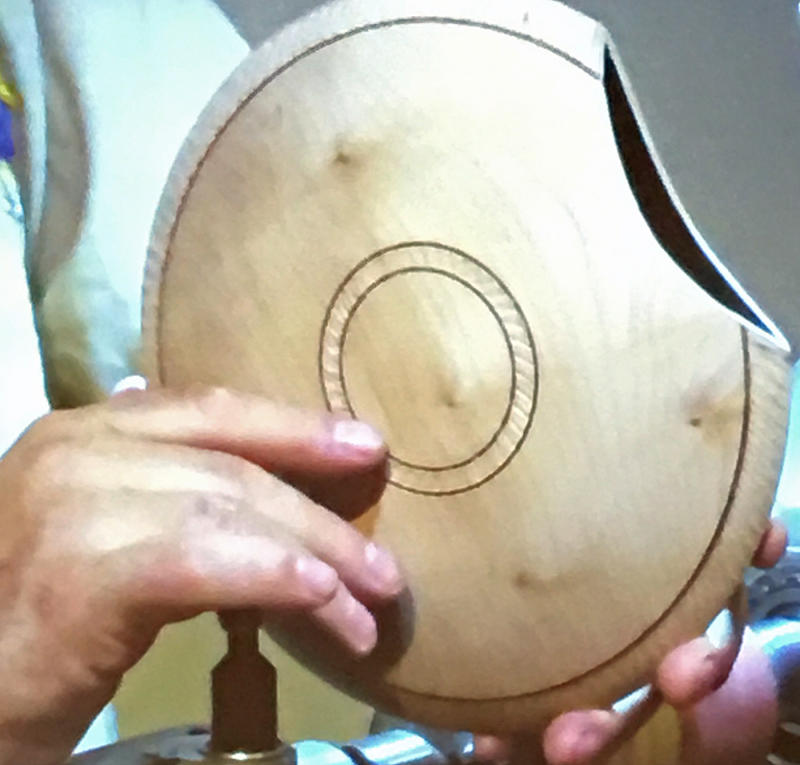
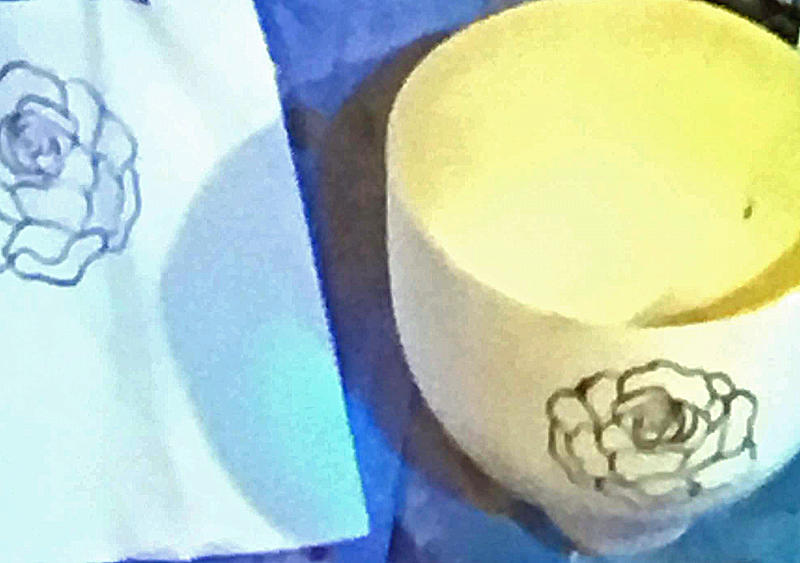
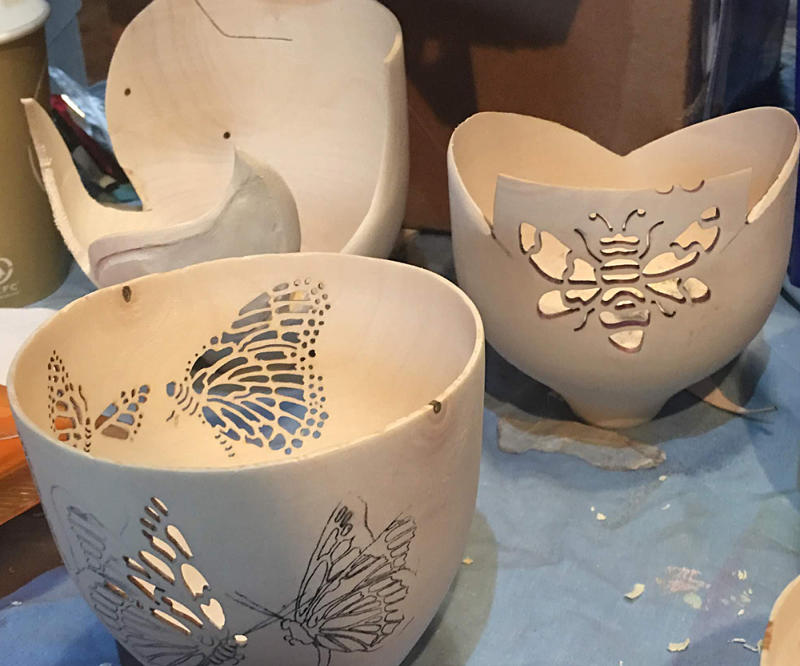
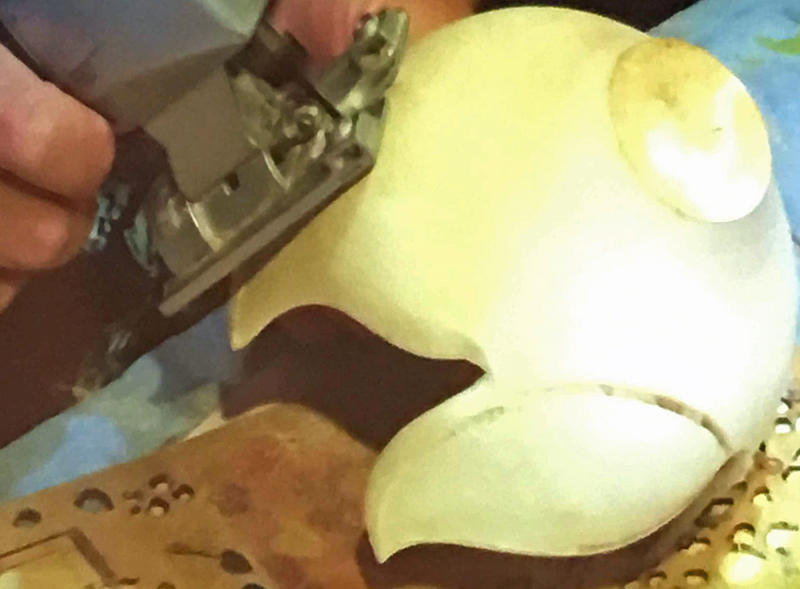
Mick put the 2 bowls together making sure the coloured bowl was marked (this will be on the back of the piece) and marked the grain match across both bowls. He used superglue to join them together and turned off the chucking point on the non coloured side. The top bowl was then marked out with the design he uses for piercing. He uses a dental burr to pierce (similar to Joey Richardson). This piece was finished by cutting out a semi circle on the edge, which was sanded down on a Simon Hope sanding drum.
Once again an interesting evening from Mick showing us a range of techniques for both the beginner and the advanced turner.